What to Expect When You Bring Your Truck in for an Accessory Install


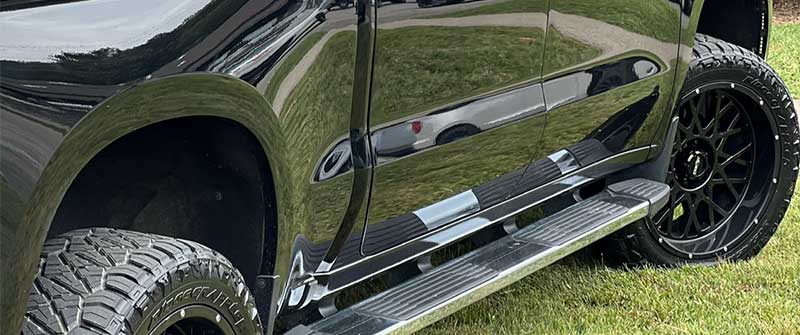
If you have never had a truck accessory professionally installed, it is natural to wonder how the process works. How do you get on the schedule? What should you bring? What happens when you pick it up? Knowing what to expect makes the whole day easier.
Here is a walkthrough of a typical accessory install, from the first conversation to driving away.
Step 1: The first conversation
Every install starts with a conversation about your truck and your goals. Have this information ready:
- Year, make, model and trim of your truck.
- Cab and bed length, which affect fitment for bedliners, covers and racks.
- Engine and drivetrain, especially for suspension and towing parts.
- Any existing modifications, such as a leveling kit, aftermarket wheels or previous wiring.
- How you use the truck: commuting, towing, work, trails or all of the above.
The more you share, the easier it is to recommend parts that fit and work together. Photos of your truck can help too, especially if it has been modified before.
Step 2: Choosing parts and getting a quote
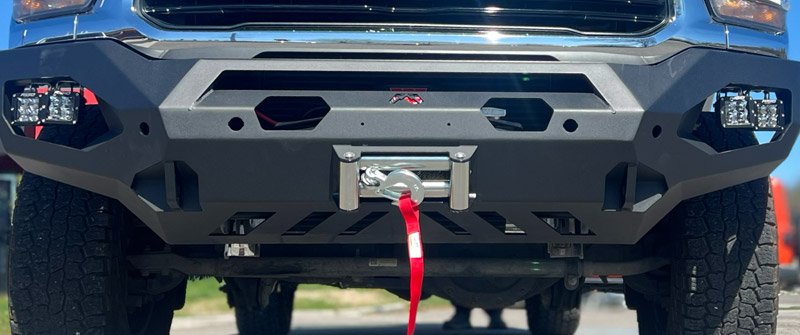
Next comes the part selection. A good shop explains the options, why one product may suit you better than another, and how the accessory affects the rest of the truck. For example, a steel bumper may change front-end weight, and bigger tires may need a leveling kit.
Ask for a quote that makes clear what is included. If you are interested in financing, ask about it at this stage so it is settled before the install day.
Step 3: Confirming parts and scheduling
Some parts are on the shelf; others need to be ordered. The shop will confirm availability and then set an install date. If you are traveling a distance to the shop, calling ahead is especially important so the parts are confirmed and the install is set up before you make the drive.
Step 4: Preparing your truck
A little prep goes a long way:
- Empty the bed for bedliner, tonneau cover, bed rack or hitch work.
- Clear out the cab if the job involves wiring, switches or interior work.
- Wash the truck if it is caked in mud, especially for bedliner or underbody work.
- Bring wheel lock keys if you have locking lug nuts and the job involves wheels or suspension.
- Remove valuables you do not want left in the truck.
Step 5: Drop-off
When you arrive, expect a quick check-in. This is a good time to point out anything you have noticed about the truck, such as a warning light, a noise or existing damage, so everyone is on the same page before work begins. Confirm how the shop will contact you if a question comes up during the install.
How long will it take?
Install time varies widely by product and truck. A simple accessory might be quick, while a suspension lift with new wheels and tires, or a spray-in bedliner that needs to cure, takes longer. Ask for an estimate when you schedule so you can plan your day.
Step 6: During the install
While your truck is in the bay, technicians install the parts following manufacturer instructions. Occasionally something unexpected turns up, like a seized bolt, a damaged factory part or a fitment issue. A good shop will stop and call you before doing anything outside the original plan.
Step 7: Pickup and walkthrough
When the job is done, ask for a walkthrough. Depending on the accessory, that might include:
- How to operate new switches, lights, covers or power steps.
- Whether any hardware needs to be re-checked or re-torqued after some driving.
- Whether an alignment or headlight adjustment was done or is recommended.
- Care tips for products like bedliners or covers.
- How the manufacturer warranty works and what paperwork to keep.
Step 8: The first few days
Pay attention to how the truck drives and sounds over the first few days. Suspension changes and bigger tires can feel different at first. If something feels wrong, like a new vibration, a pull or a warning light, call the shop instead of waiting.
Getting an install at Phoenix Conversions
Phoenix Conversions has a 70,000 square foot showroom and install shop at 5915 Casey Drive in Knoxville, right off I-40 at Exit 383. We are open Monday through Friday, 8:30 AM to 5:30 PM. Customers come from Maryville, Oak Ridge, the Tri-Cities, Chattanooga, Nashville and beyond; if you are coming from out of town, call ahead so we can confirm parts and set up your install. Call 865-670-4060, email esales@phoenixconversions.com, or request a quote to get started.
Frequently asked questions
What information do I need before scheduling an accessory install?
Have your truck's year, make, model, trim, cab and bed length, plus any existing modifications and how you use the truck. That helps the shop confirm fitment.
How long does a truck accessory install take?
It depends on the product and truck. Simple accessories can be quick, while lifts, wheel packages and spray-in bedliners take longer. Ask for an estimate when you schedule.
Do I need to empty my truck bed before an install?
Yes, for any bed-related work such as bedliners, covers, racks or in-bed hitches. It is also a good idea to clear the cab for wiring jobs.